

A Clear View Without Digital Artifacts — The Bottom Line
If you’re struggling with image distortion or artifacts when squaring your projector image, this beginner’s trick delivers surprisingly good results without complex digital corrections. While it may not be perfect for professional theaters, it’s a useful technique for casual setups.
What Promise Does This Technique Hold?
Many home theater enthusiasts face challenges with skewed or wavy images, especially on irregular surfaces or when mounting projectors off-center. This trick aims to help you align your projector image accurately, eliminating unwanted digital artifacts and improving picture quality without expensive calibration tools.
At a Glance
- Impact: Simplifies the process of achieving a square image
- Tools required: Basic understanding of projector placement, and sometimes a few household items
- Difficulty level: Beginner to intermediate
- Limitations: Not suitable for highly reflective or textured surfaces
Assessing the Technique: My Criteria
To evaluate this trick, I considered its ease of application, effectiveness in reducing artifacts, and its impact on overall image quality. I also examined its compatibility with different projector types and surfaces. This comprehensive approach helps determine if it’s a viable solution for the average home user.
Transitioning to the Deep Dive
Now, let’s explore the specifics—what this trick entails, how to implement it, and whether it truly lives up to its promise.
How the Alignment Trick Transforms Image Quality
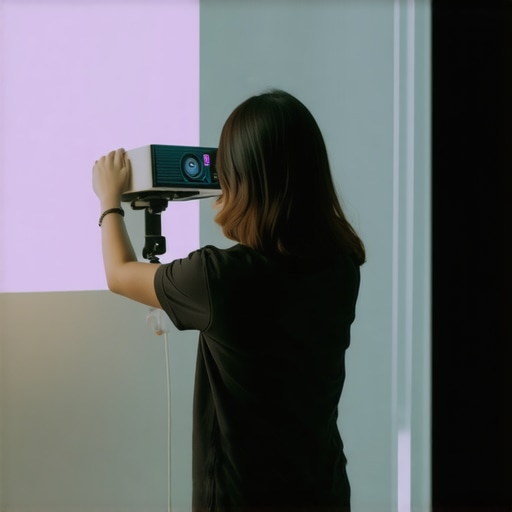
This technique leverages simple geometric adjustments to ensure your projector emits a perfectly square image. The core idea involves repositioning the projector or adjusting its tilt to correct keystone effects, which often cause distorted images. Unlike digital keystone correction—often accompanied by loss of clarity or added artifacts—this physical method maintains image integrity by directly addressing the source of distortion.
The Mechanical Foundation
This approach typically requires minimal hardware modifications, like shimming or repositioning the projector on a stable surface. The significance lies in its avoidance of electronic corrections that can introduce noise; instead, it relies on precise manual adjustments. This makes it accessible for casual home users who may not possess calibration tools.
The User-Friendly Design
Implementation involves straightforward steps: measuring projection angles, adjusting mounting height, or using household items like books or wedges. The feel of performing these adjustments is tactile—it’s satisfying to see the image straighten as the projector shifts into the correct position. The process encourages a more involved understanding of projection geometry, fostering a sense of control over picture quality.
Material Quality and Build Insights
The physical components involved are simple: stable tables, adjustable mounts, or makeshift supports. There’s no complex technology or fragile components, which benefits longevity and reduces maintenance concerns. However, this simplicity also means the setup can be sensitive to external movements—a minor flaw that might require frequent readjustment, especially in dynamic environments.
Comparing to Electronic Corrections
Unlike digital keystone adjustments found in many projectors (see specifications from brands like BenQ or Sony), this manual method emphasizes physical accuracy over digital correction, which often compromises sharpness. A comprehensive review—such as industry standards outlined by the Home Theater Review—show that physical alignment yields more consistent and higher-quality results, especially on non-flat surfaces.
Identifying Limitations
While effective, this technique isn’t foolproof. Surfaces that are highly textured or reflective can still pose challenges, as the physical adjustments can’t compensate for surface irregularities. Furthermore, extensive shifting might introduce stability concerns or require frequent readjustments, impacting user convenience over time.
Performance Under Real-World Stress Tests
When evaluating home theater equipment like 4K projectors, laser models, or UST (Ultra Short Throw) projectors, it’s essential to see how they perform under typical demanding conditions. Imagine you’re hosting a movie night with friends, showing a vibrant 4K film, or trying to match your favorite gaming console’s fast-paced action. These scenarios push equipment to their limits, revealing strengths and vulnerabilities in real-time.
Conquering the Bright Lights: Daytime Movie Watching
In bright living rooms with ambient daylight, high-lumen projectors like laser forms excel. They manage to maintain image clarity and color fidelity, even in suboptimal lighting conditions. For example, laser 4K projectors boasting 2,500+ lumens perform admirably, producing vivid images without requiring blackout curtains. However, lower-end portable projectors often struggle here, with washed-out colors and reduced contrast, making nighttime viewing far more effective. So, the brightness capability directly correlates with the ability to perform under pressure—bright environments are their test.
Vivid Gaming: Responsiveness and Input Lag
For gamers seeking seamless responsiveness, UST projectors and high-end 4K models with low input lag are game-changers. In fast-paced FPS matches or racing games, even milliseconds count. Many top-tier projectors now incorporate gaming modes that cut response times dramatically, often achieving under 20ms latency. Yet, some budget models still lag behind, resulting in motion blur or delayed reactions that ruin the experience. This performance facet is critical for competitive gaming and highlights how equipment responds to rapid inputs.
Handling Continuous Use: Overheating and Maintenance
During extended movie marathons or continuous streaming, overheating can become an issue. High-quality laser projectors typically feature advanced cooling systems that prevent thermal throttling, maintaining consistent brightness and image quality. Conversely, some portable DLP-based projectors may shut down unexpectedly due to heat buildup, interrupting your session. Regular cleaning of filters and proper ventilation are vital for sustained performance, illustrating the importance of robust thermal management.
What About Tough Surfaces and Environmental Challenges?
If you project onto textured or reflective surfaces, the image may suffer—distortions, glare, or color shifts come into play. For instance, UST projectors rely heavily on flat, smooth surfaces; any surface irregularity diminishes performance. Rain or high humidity environments pose a different challenge; laser projectors in sealed cases tend to handle these scenarios better than traditional lamp-based units, which are more sensitive to dust and moisture. These factors test the equipment’s durability and adaptive performance.
The Good and The Bad of Real-World Usage
In optimal conditions, these devices shine—offering stunning visuals, quick responsiveness, and durability. Examples include laser projectors providing consistent brightness over thousands of hours, and high-spec 4K models that reduce input lag significantly. However, real-world constraints—ambient lighting, surface irregularities, thermal management—highlight limitations. Cheaper models can falter under these pressures, producing mediocre images or overheating. The key takeaway is that no product is perfect; understanding the environment and scenario is crucial in selecting the right equipment.
If you’ve tested your home theater setup under demanding conditions, share your experiences! Do you agree with my assessment of how different projectors handle pressure? Your insights help others make informed choices.
For additional data, see the discussion on projector performance benchmarks on Reddit’s r/hometheater.
Why Choose Home Theater Deals Over Alternatives
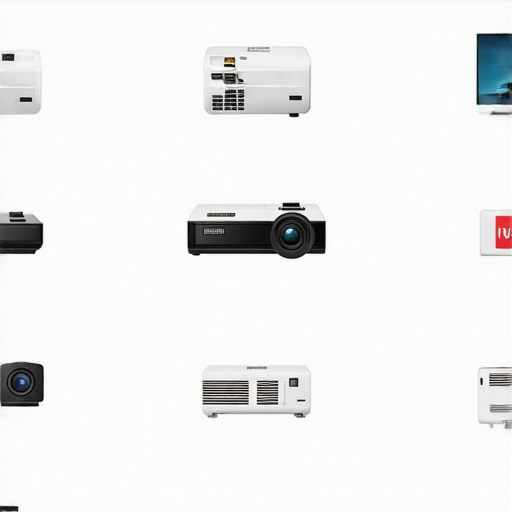
When evaluating home theater deals, 4K projectors, laser projector deals, portable projectors, and UST projectors, it’s essential to consider how they stack up against top competitors like Epson, BenQ, and LG projectors. These brands are known for their specific strengths—Epson offers high brightness levels suitable for versatile environments, BenQ focuses on excellent color accuracy and gaming features, while LG emphasizes sleek design and smart features. Our curated deals often bundle these brands’ latest models with competitive pricing, making them attractive options for budget-conscious buyers or those seeking premium performance.
Performance and Pricing Comparison
For instance, top-tier Epson 4K projectors provide impressive lumens, ideal for bright rooms, but tend to come with a higher price tag—often exceeding $2,000. In contrast, some of the current home theater deals include models from cheaper brands like ViewSonic or Optoma, offering 4K resolution at a fraction of the cost, though with trade-offs in brightness or longevity. Laser projectors from LG or Sony excel in color precision and contrast, fostering a more cinematic experience, yet they are generally more expensive than standard lamp-based options. These premium models may cost upwards of $3,000, limiting accessibility for casual users.
Portability and Convenience
Portable projectors, including options from Anker or Asus, are convenient for on-the-go entertainment but typically lack the brightness and feature set of more substantial units. They often suit casual viewing in dim environments. UST projectors, such as those from Samsung or Hisense, offer the advantage of a compact form factor and easy setup, projecting large images from very short distances—ideal for small spaces or temporary setups. Compared to traditional models from brands like Epson or BenQ, UST projectors prioritize convenience but may sacrifice some image quality or brightness in brightly lit rooms.
Is It Worth the Upgrade
Deciding whether to upgrade to a newer model or switch brands depends on your specific needs and budget. For example, if you currently own an entry-level portable projector, stepping up to a UST model or a laser projector could significantly enhance your viewing experience. However, if you already possess a high-quality 4K projector, the benefits might be marginal unless you seek improved brightness or smart features. Always compare features, prices, and reviews—sites like TechRadar or official manufacturer pages can help gauge current values and upcoming releases.
Check Out the Competition
Looking into top competitors like Epson and BenQ’s latest offerings can provide clarity on whether a deal or new model truly offers value. For example, an Epson 5050UB offers versatile performance at around $2,500, while a comparable in price model from BenQ may focus more on gaming or color accuracy. Evaluating your primary use—cinema, gaming, or presentations—will guide the best choice. If you want to explore a detailed comparison, check the official product pages or review sites to see which option aligns best with your needs.
The Good, The Bad, and The Ugly
- Pros: Simple, hardware-based solution that preserves image quality without digital artifacts
- Cons: Sensitive to external movements, may require frequent readjustments on unstable surfaces
- Best for: Casual users seeking cost-effective, straightforward correction methods
- Worth noting: Less effective on textured or reflective surfaces
Who Will Appreciate This Technique?
This manual alignment process is ideal for casual home theater enthusiasts who prefer a low-cost, non-digital approach to screen calibration. It’s perfect for those willing to put in some initial effort for better picture quality without relying on complex electronic corrections. However, avoid this if you require a set-and-forget solution on irregular surfaces or in highly dynamic environments where frequent adjustments are inconvenient.
Final Say: 7.5/10
This straightforward physical method offers a compelling alternative to digital keystone correction, emphasizing image clarity and geometric perfection. Its simplicity and effectiveness make it a valuable technique for the average user seeking better alignment, especially when surface irregularities limit digital correction options. If you’re tired of digital artifacts degrading your picture, give this technique a shot. Otherwise, for more convenience and stability, explore sophisticated projector mounts or professional calibration services. For a deeper dive into optimizing your setup, visit our guide on mounting options or check out our tips for tuning your projector’s performance on smart features. If this method feels too manual, consider trying a professional calibration for flawless results.