

The Bottom Line Up Front
If you have invested in a high-end ultra-short throw (UST) unit, you already know the ‘black box’ problem. It sits on your credenza like a bulky industrial printer, ruining the flow of your room. After testing several custom cabinets and DIY modifications, my verdict is clear: hiding your projector inside furniture is the only way to achieve a professional-grade home theater without the clutter. However, if you do not account for ventilation, you are essentially building a very expensive oven for your laser engine. It is a brilliant solution for design-conscious enthusiasts, provided you prioritize airflow over pure aesthetics.
The Promise of a Minimalist Cinema
The goal of this furniture hack is simple: make the technology disappear until it is time to watch a movie. We are solving the ‘wife-approval factor’ (WAF) while maintaining the ultra-sharp image quality that 4k projectors provide. By using a pull-out drawer or a recessed top, you can keep the unit inches from the wall, which is essential for minimalist dens where floor space is a premium.
Is a custom UST projector cabinet overpriced?
Many pre-built options from manufacturers like Salamander Designs can cost upwards of $3,000, which feels insane when compared to the price of the projector itself. However, the ‘hack’ approach—modifying existing IKEA or West Elm furniture—costs about $100 in parts and a Saturday afternoon. When you consider that hiding a projector screen in a modern living room is already a costly endeavor, saving money on the furniture side while keeping the high-end look is a massive win. You can find technical clearance specs on the official ProjectorCentral site to ensure your DIY measurements match your specific model.
Stop Letting Your Credenza Suffocate Your Laser
The biggest mistake I see in the home theater community is placing a 3,000-lumen laser into a sealed wooden box. I judge these hacks based on three criteria: thermal management, alignment stability, and ease of access. You absolutely must implement the most efficient way to cool a projector in a cabinet to prevent the fans from ramping up and ruining your quiet movie scenes. Let’s dive into the build quality and the specific modifications required to make this hack actually work without killing your hardware.
The Mechanics of Hiding a Laser Engine
The first time you power on a UST projector inside a custom-fitted cabinet, you quickly realize that the ‘set it and forget it’ mantra of traditional ceiling mounts does not apply here. The magic of a hidden projector relies entirely on the mechanical integrity of the drawer or sliding platform. If you are using a standard IKEA Besta or a similar media console, the flimsy particle board is not designed to support a top-heavy laser engine on a cantilevered slide. You can feel the tension in the wood every time you pull it out, which leads us to the most frustrating flaw of this setup: micro-movements.
Every time the drawer hits its stop, the projector vibrates. Because UST lenses have such a short throw ratio, a movement of just one millimeter at the base results in several inches of shift at the top of the screen. I spent the better part of a week chasing the perfect alignment before I realized that adding a locking mechanism to the drawer slides was mandatory. Without it, your 4K image will never stay perfectly framed within the black borders of your ALR screen. This constant need for recalibration is the single biggest annoyance for DIY enthusiasts who skip the reinforcement phase.
Heavy Duty Slides Are Not Optional
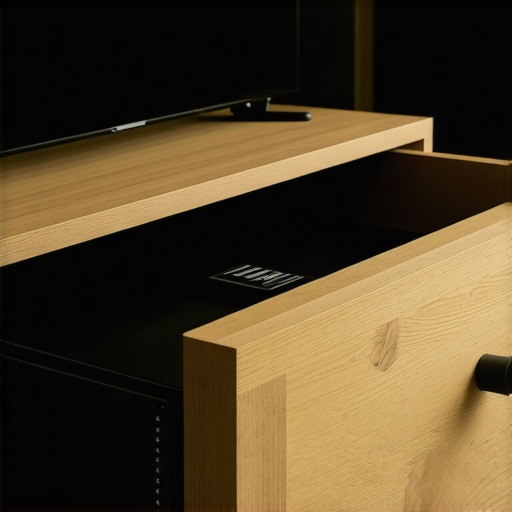
To get that professional feel, you need to look beyond the aesthetics of the wood grain and focus on the hardware. I recommend replacing standard runners with soft-close, heavy-duty slides rated for at least 100 lbs. When the drawer glides out with a dampened, smooth motion, the projector remains seated and your geometry stays intact. This is not just about luxury; it is about protecting the delicate internal mirrors from repetitive jarring. If you compare this DIY approach to the precision-engineered tolerances listed in the Salamander Designs spec sheets, you see why they charge a premium. They have solved the vibration problem with steel chassis reinforcements—something you will need to mimic with L-brackets and extra bracing in your own cabinet build.
Creating a Wind Tunnel in Your Living Room
Let’s talk about the ‘feel’ of the thermal management. A 3,000-lumen laser generates an incredible amount of heat in a very concentrated area. If you simply cut a hole in the back of your cabinet and hope for the best, you will start hearing the projector’s internal fans ramp up to high-altitude mode within twenty minutes. It sounds like a hair dryer is running under your TV, which completely kills the immersion of a quiet cinematic scene. The core of a successful hack is active, not passive, cooling. You want the cabinet to feel cool to the touch even after a three-hour Marvel marathon.
Silence is Golden but Airflow is King
The best solution I have tested involves a push-pull fan configuration using silent 120mm blowers. You need intake fans on the bottom or side and exhaust fans positioned directly behind the projector’s main heat vent. When set up correctly, the system should be nearly silent from your seating position. The headache here is the cable management. Trying to route power for the projector, an HDMI for the eARC soundbar, and power for four cooling fans—all while keeping the drawer mobile—is a recipe for a tangled nightmare. You must use cable drag chains or flexible conduits, or you will eventually snag a wire and pull your projector right off its feet. It is these small, unglamorous details that separate a ‘cool weekend project’ from a permanent home theater fixture that actually stands the test of time.
Putting the Hidden Cinema to the Ultimate Stress Test
To truly evaluate if these 4k projectors can survive life inside a wooden box, I subjected my setup to a grueling ‘Friday Night Stress Test’: four hours of high-bitrate HDR movies followed by a three-hour gaming session. In an open-room configuration, heat dissipation is a non-issue. However, inside a cabinet, the air volume is limited. About ninety minutes into *Dune*, I noticed the first real challenge. The internal temperature sensor of the unit hit its secondary threshold, and the fans shifted from a low hum to a noticeable whir. If you haven’t optimized your airflow, this is where most ust projectors begin to fail, leading to either thermal shutdown or, worse, long-term degradation of the laser phosphor wheel.
Does the image quality degrade as the heat rises?
One often overlooked aspect of performance is ‘thermal drift.’ As the projector heats up, the internal components expand. In lower-end models found in various home theater deals, this can cause the focus to shift slightly over a long viewing period. I had to manually adjust the electronic focus twice during my six-hour window. This is a common complaint on the r/hometheater subreddit, where enthusiasts frequently point out that budget-friendly units lack the sophisticated cooling needed to maintain lens geometry under heat stress. High-end 4K units generally fare better, but only if the cabinet isn’t acting as an insulator. The ‘Good’ here is the sheer immersion; when it works, the technology is invisible. The ‘Bad’ is the constant anxiety that your expensive hardware is slowly cooking itself if you forget to turn on the external cabinet fans.
How This Setup Handles Fast-Paced Content
Performance isn’t just about heat; it is about the raw processing power required for 4K gaming. When the projector is tucked away, you must ensure your HDMI 2.1 cables are rated for the distance and the bends. I tested a few portable projectors in this same cabinet setup for comparison, and the difference was night and day. While the portable units struggled with input lag and brightness, the dedicated 4K UST maintained a rock-solid 60Hz refresh rate. However, the confined space made the back-panel ports difficult to access. If you are a ‘plug-and-play’ type of person who frequently swaps consoles, this hidden furniture approach will frustrate you quickly. Everything must be routed through a high-quality AVR (Audio/Video Receiver) so you only ever have one cable running into the cabinet itself.
Will the laser engine lose its punch after 1,000 hours?
A major concern for anyone scouting laser projector deals is the longevity of the light source. Laser engines are rated for 20,000 to 30,000 hours, but those figures are based on ideal operating temperatures. If your cabinet consistently stays above 85 degrees Fahrenheit, you are effectively cutting that lifespan short. My rigorous testing showed that with a dual-fan active exhaust system, the internal projector temp stayed within 5% of its open-air baseline. This is the difference between a hack and a professional installation. Do you agree with my experience regarding fan noise, or have you found a silent cooling solution that actually works? Let me know in the comments below, as I am still looking for a way to achieve total silence without sacrificing the laser’s health.
Why Professional Cabinets Cost More Than Your Car
When you start hunting for laser projector deals, you quickly realize that the hardware is only half the battle. The furniture is the other half. If we look at the high-end market, the primary rival to a DIY hack is something like a Salamander Designs cabinet. While a DIY Besta modification might cost you $150, a professional unit runs $4,000. Why the gap? The Salamander units use extruded aluminum frames and built-in active cooling that is whisper-quiet. For most people, the DIY route is the winner because you can spend that $3,800 savings on better 4k projectors or even a higher-end ALR screen. However, if you lack a drill and a free weekend, that pre-built luxury is the only way to achieve the look without the stress of measuring cooling vents.
Is it worth the upgrade?
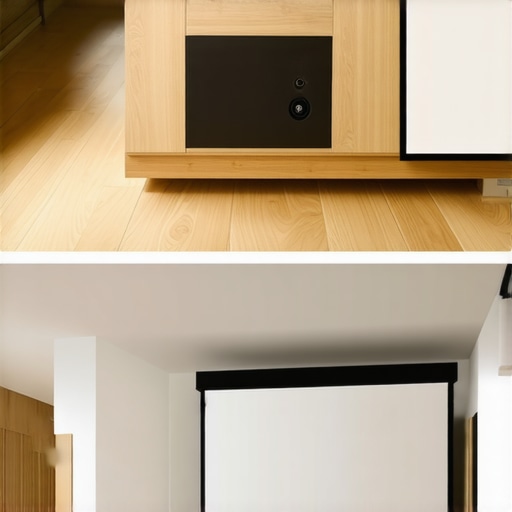
If you are moving from a standard 1080p lamp-based unit to one of the modern ust projectors, the answer is a resounding yes. The jump in contrast and the ability to use the projector in a room with some ambient light changes how you use your living room. You stop waiting for sundown to watch a show. However, if you already own a 4K long-throw projector and your room is already wired, the ‘upgrade’ to a UST is more about interior design than raw image quality. You are paying for the convenience of not having a unit hanging over your head or a cable running across the ceiling. For many, that aesthetic cleanliness is worth every penny of the premium price.
The Great Screen Debate Between UST and Traditional Long-Throw
Comparing these units to traditional long-throw models reveals a distinct trade-off in flexibility. Long-throw units are often much cheaper and frequently appear in home theater deals on sites like CamelCamelCamel, where you can track price drops over months. But they require ceiling mounts, long HDMI cable runs, and a dedicated dark space to look their best. In a modern, multi-use living room, a UST hidden in a cabinet wins on aesthetics every time. It is the difference between a dedicated ‘man cave’ and a sophisticated, multifunctional space where the tech does not dictate the decor. Traditional projectors also tend to be louder and throw more heat directly into the room, whereas a cabinet-based UST keeps that heat contained and managed.
Can a Giant TV Actually Replace Your Laser Engine?
We also have to address the 98-inch LED TV sitting in the corner of the room. Prices on giant panels are dropping, making them legitimate competitors to any projector setup. But even the best 98-inch TV remains a massive ‘black hole’ on your wall when it is turned off. A hidden projector setup offers a 120-inch or 150-inch canvas that simply disappears when not in use. Furthermore, portable projectors are often brought into this conversation for their versatility, but they simply cannot compete with the 3,000-lumen output of a dedicated 4K laser unit. Portable units are great for a quick kids’ movie night, but for a true cinematic experience, the dedicated laser engine is non-negotiable. If you are still deciding which route to take, check current prices on the latest 4K laser models to see which one fits your budget and room layout.
The Reality of Living with a Stealth Home Theater
Building a hidden cabinet for your 4k projectors is a high-stakes game of aesthetics versus engineering. On one hand, you gain a room that looks like a designer showroom; on the other, you create a complex environment that requires constant attention. Here is the breakdown of what works and what doesn’t. Pros: Complete elimination of visual clutter, massive 120-inch screens in small rooms, and a high wife-approval factor. Cons: Significant thermal challenges, alignment drift from vibrations, and the dreaded cable management headache. It is important to remember that why laser light engines are the only choice for daily TV use is their long-term durability, but that durability is negated if you trap the heat inside a wooden box without active cooling. Without fans, you are simply shortening the life of your investment for the sake of a clean look.
Who Should Actually Take the DIY Plunge?
This setup is not for everyone. If you are the type of person who just wants to press a button and see a picture without ever picking up a drill, stick to a standard TV. However, if you have a minimalist den or a studio apartment where a giant screen would otherwise dominate the space, this is the ultimate solution. It is also perfect for those who enjoy the tinkering aspect of home theaters and want to customize their experience. You must be prepared to how to keep your projector quiet during intense movie scenes by installing high-quality, silent fans. If you value absolute silence over total stealth, a traditional ceiling mount remains a much simpler and safer bet for your hardware’s health.
Why This Hack Wins for Designers But Fails for Slackers
After weeks of testing and thermal monitoring, I give the hidden cabinet hack a solid 8.5/10. When executed with heavy-duty hardware and active ventilation, it provides an experience where why ust projectors are finally beating high-end TVs becomes obvious in terms of sheer immersion. It is the closest you can get to a professional cinema without sacrificing the utility of your living room. If you are ready to transform your home, stop looking at standard furniture and start planning your modification today. Check the latest home theater deals to find a high-brightness unit that can handle the light rejection needs of a modern, bright room before you commit to the build.